Hello my dear friends today in this blog I'll be showing you how to add Notification to your blog so your user can subscribe and get notified each time you release a post on your blog. But before jumping into that let me explain what this does.
What is One Signal? One signal is an online package tool that helps you add toast notification and also push notification to your blog or Web tool of choice note that this can also work for WordPress and so on.
What is One Signal used for? As I have mentioned earlier at the explanation of what is OneSignal I've said that OneSignal is used to add push notification and also toast notification to your blog or Web tool of choice.
Now that I've mentioned all these concepts explaining what OneSignal is and what it is used for let's get into Installing OneSignal for your blog.
How to Install OneSignal for your blog
There are steps and concepts behind installing this tool so you would need to follow them step by step to get better understanding on installing and using it.
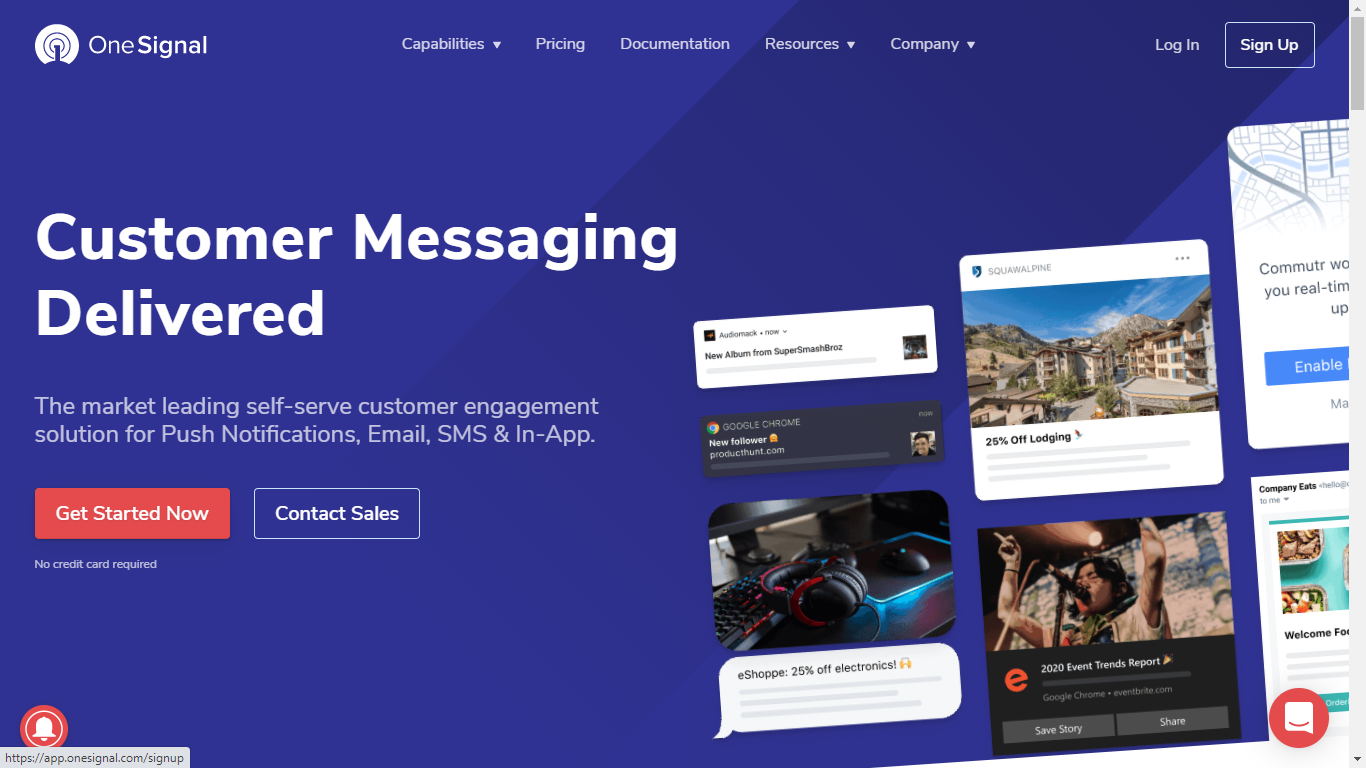
Step1: Go to OneSignal Website: https://onesignal.com/ andClick On the Get Started Now Button
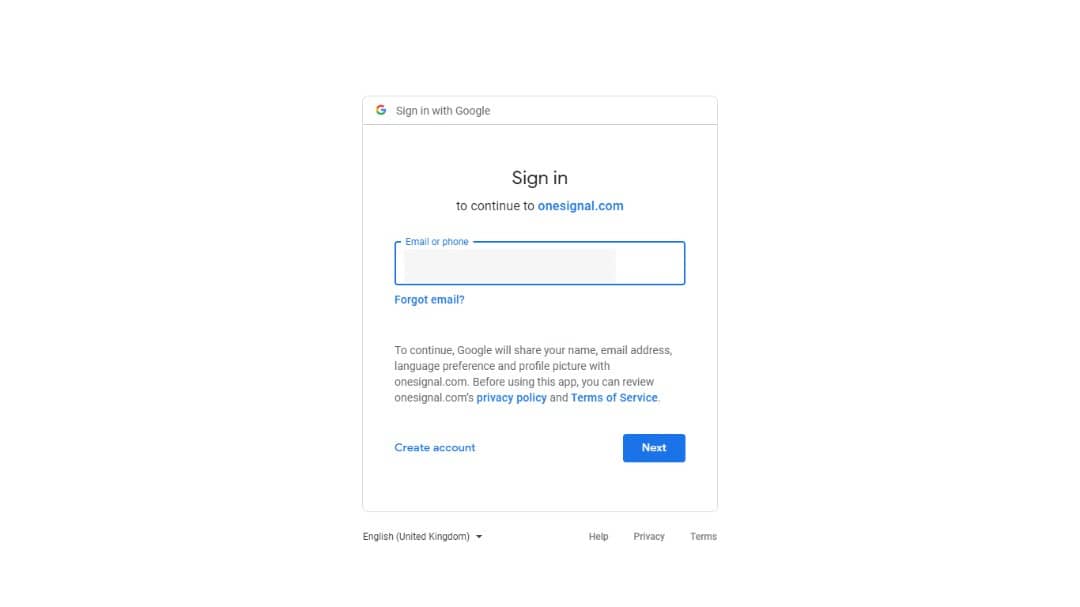
Step2: You will be directed to a Multi Step Login Form, here you'll have to login with an active account. note: if you don't have an account with OneSignal then i recommend clicking on the Google Icon, this will take you to login with your Google account which is recommend since you have used this to create an account with Blogger already right.
Example Of What This Would Look Like
Step3: After logging in to OneSignal you'll be directed to create the push notification and toast notification this should look something like this:
After getting directed to this page you would have to click on the New App/Website button, after clicking this button you will also get directed where you would have Type the name of your Website after filling that. Click on the button below:
This Should Look Something This:.:
Step4: After Clicking those selected area which i have shown above in the image preview the next step is to choose an Integration and your Website Builder => If you use Blogger then choose blogger if you use WordPress Choose WordPress or Wix Choose Wix depending on your Website Builder.
This should look Something like this:
As you have seen i chose blogger as Website Builder, and Wordpress Plugin or Website Builder for my Integration of Choice this is very import you choose the "Wordpress Plugin or Website Builder" after doing that then just follow the next step.
Step5: In this step you would be adding Permission Prompt Setup this prompt is very important to ask for push permission. To do that you would click on the Add Prompt Button and click on Push Prompt next.
This should look something like this
after clicking on the push prompt button you would get this Preview
Permission Prompt Editor
This is a prompt editor to show what happens to bell notification and how Push Notification should appear.
After Editing click Finished/Done
Step6: Add Code to Site
You are all done now all you need is to add this code to you blogger website. keep following or else this won't work
Here in the image preview i've my appId and other JavaScript api property, what to do here is to click the Copy Code Button, now without any further hesitations let's finish this installation.
Step7: Go to your blogger pannel and click on the theme button.
after clicking theme you will be directed to themes page, next step is to click on the drop-down icon and click on the Edit HTML Button
Final Step: Paste the script code you copied from OneSignal and paste it in the head tag. note that it is very important you paste it in the head tag.
Congratulation You Have Sucessfully Installed OneSignal app into your website
You May Like This:


thanks a lot for making this tutorial I requested bro, I really appreciate it
ReplyDeleteYou're Welcome Bro
Deleteu copy
ReplyDeletePost a Comment
We welcome relevant and respectful comments. Off-topic or spam comments may be removed.